In 2018 I posted a design of a simple spectroscope to Thingiverse. I figure I’ll re-post it here to try and reach a wider audience. This project was inspired by the Nanomaker course on MIT OpenCourseWare.
Summary
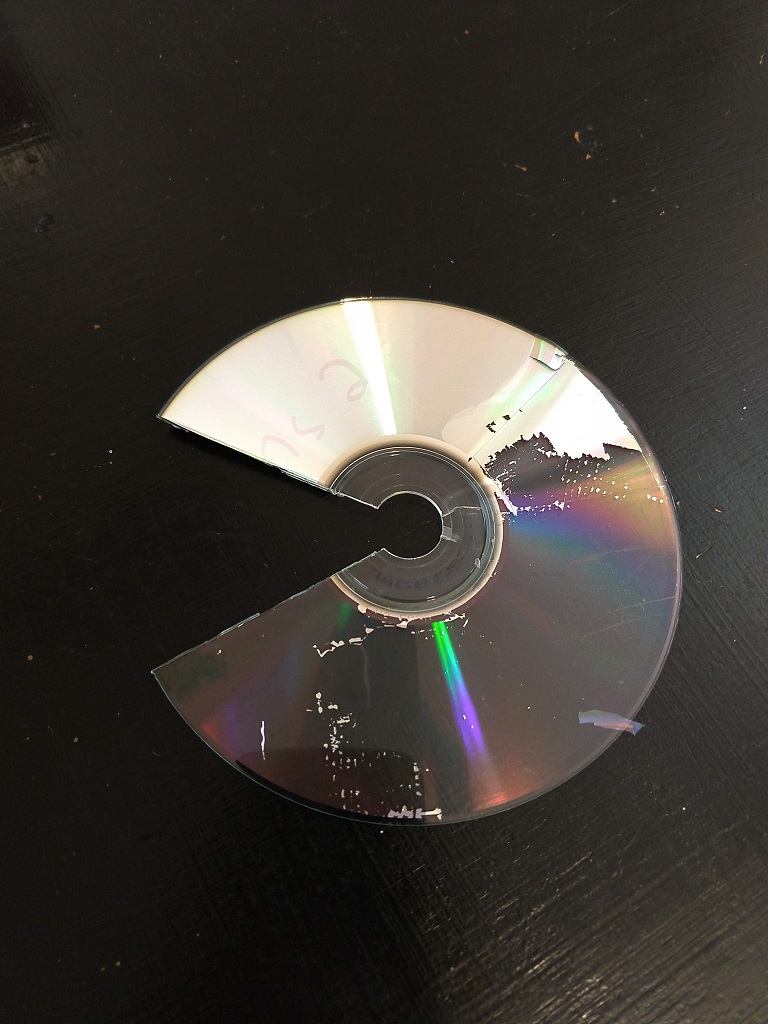
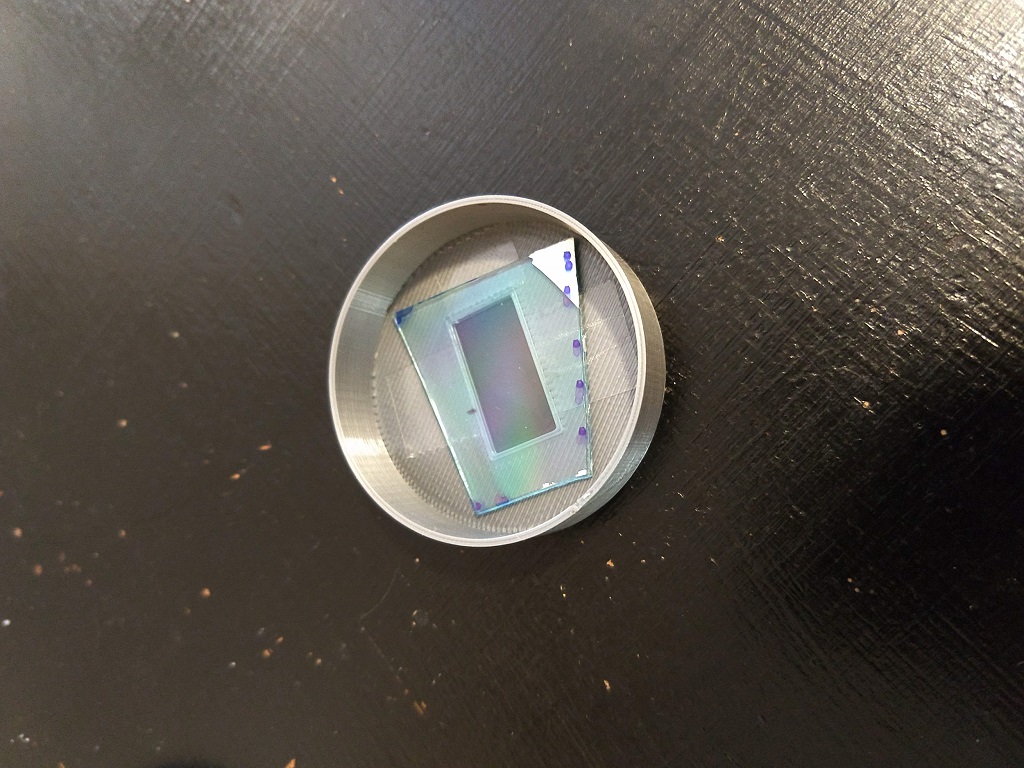
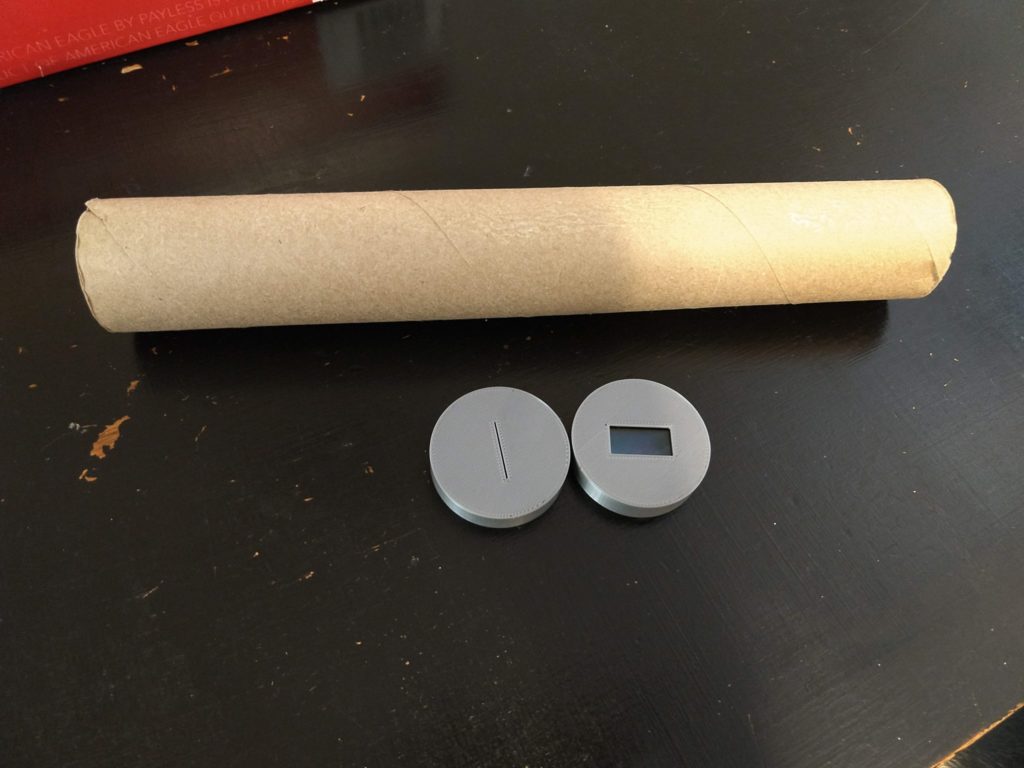
This project will teach you how to build a simple DIY spectroscope with an old CD, an empty paper towel roll, and (optionally) a 3D printer. Print the two different end caps, glue or tape the diffraction grating (part of an old CD with the metallic top layer removed) into the cap with the larger hole, and place both caps on the end of the paper towel roll. If you don’t have a 3D printer, you can use cardboard (e.g. from a cereal box) or thick cardstock. Cut slits similar to those of the 3D printed end caps.
Look through the end with the larger hole and the CD diffraction grating at different light sources to see their spectra.
Download the files from Thingiverse or here.
Materials
- Empty paper towel roll.
- Old, unwanted CD-ROM.
- Glue or tape.
- Scissors.
- (Optional) 3D printer.
- (Optional) If you can’t 3D print the end caps, use cardboard or dark and thick cardstock to create them.
Tips/Build steps
- It might be tempting, but please don’t look directly at the sun, even through the spectroscope.
- Pick a CD you don’t want anymore 😉
- Use sharp scissors to cut out a portion of an old CD.
- Tape (like duct tape) can help peel off the top metallic layer from the CD. Just stick the tape to the top surface and peel up.
- The radial direction of the CD (the direction from the center of the CD to the edge) should be oriented parallel to the long dimension of the filter hole.
- The two end caps should be rotated so that the two rectangles are perpendicular.
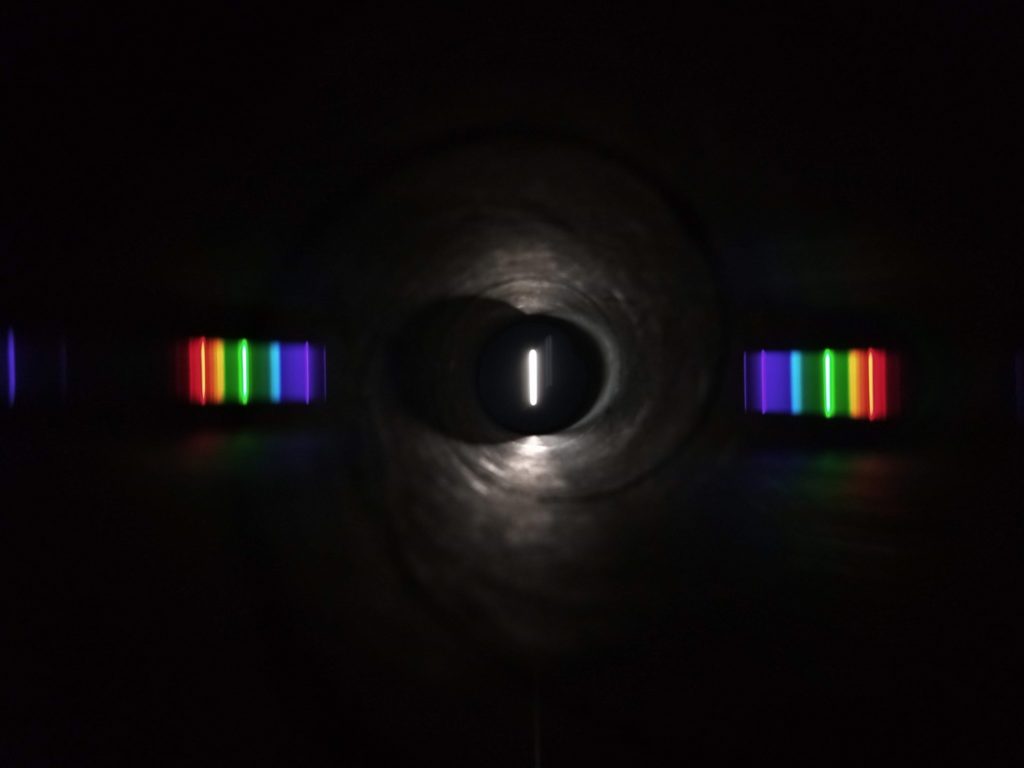
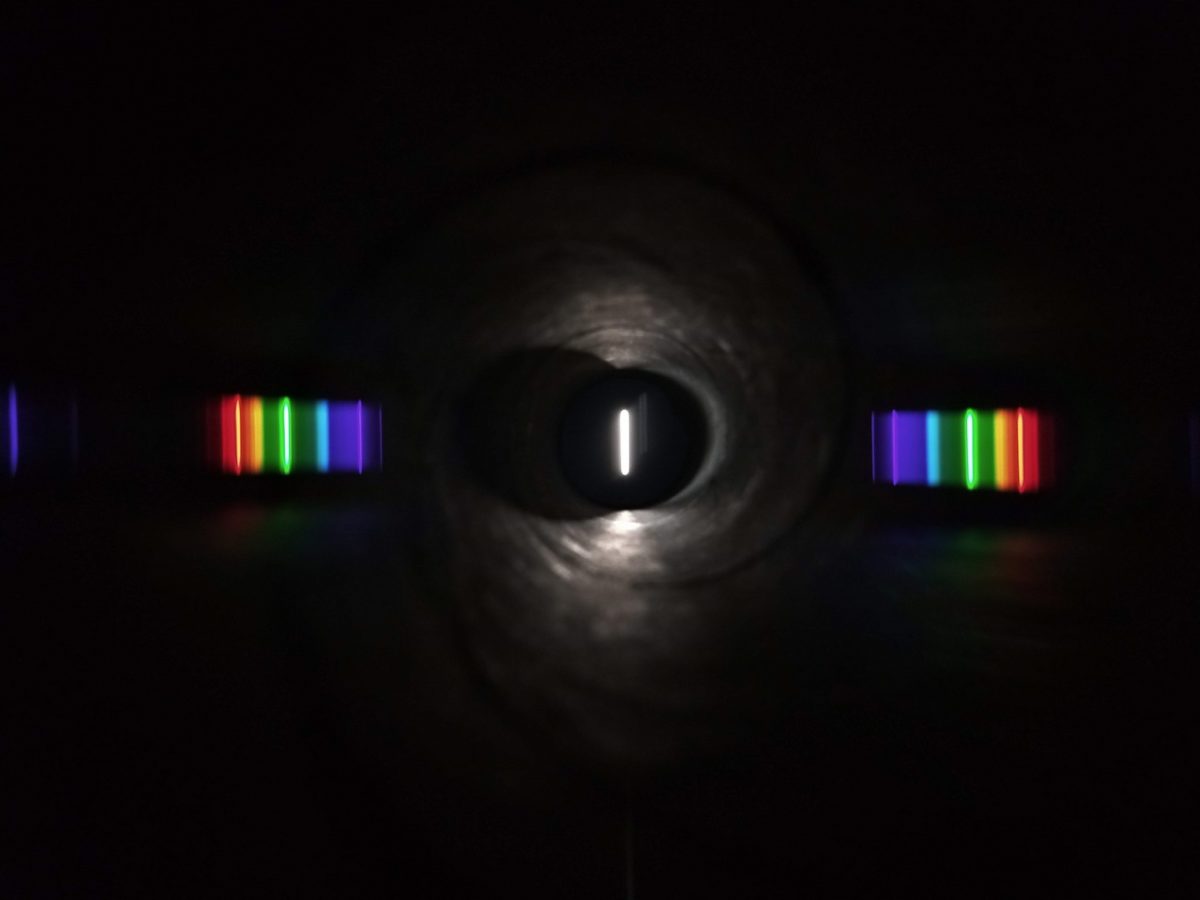
- The previous two tips are to ensure that the diffraction pattern (the rainbow) is most visible. See the image of the diffraction pattern for an example of what the spectrum of a fluorescent light can look like.
- Double-sided tape can be used to affix the CD to the end cap temporarily while adjustments are made.
Don’t have a 3D printer? Don’t worry — use cardboard for the end caps! The slit should be no more than about 0.5 mm wide. The other end cap doesn’t matter so much, just make a window for your diffraction grating/CD.
For bonus points, add a webcam and turn this into an easy spectrometer. (The difference between a -scope and a -meter is that a -scope just sees things whereas a -meter can measure things.)
Background information
With a spectroscope you can view the individual colors from a light source. The diffraction grating works like a prism in that it separates out these individual colors. The pattern caused by this separation is called a spectrum (plural spectra). The purpose of the slit is to help in distinguishing components of the spectrum. Try holding the diffraction grating up to your eye as you look at a room light. You’ll notice that without the slit, the diffraction patterns look like a rainbow version of the light source. What we want to see is just a series of lines corresponding to the colors in the light or a continuous rainbow if the light contains all colors. Different light sources have different spectra. The sun is considered white light — it contains all colors. Rainbows are the spectrum of the sun. Incandescent light bulbs also produce white light. You can see this continuous spectrum by looking through the spectroscope at an incandescent light bulb. Other light sources, like LEDs or fluorescent light bulbs, produce light that is missing some colors (or, only contains certain colors). The spectra of such light sources are called discrete, meaning you see distinct lines of colors in the spectrum. The image I attached to this project shows the spectrum of a fluorescent light. I hope you learn something new with this simple CD-ROM paper towel roll spectroscope!
One reply on “Easy spectroscope”
This is just a test comment to see how it shows up. If I may say so myself, I think you’ve done a bang up job!